A Home-built analog synthesizer

Music from Outer Space
Music from Outer Space, self–described as “your synth DIY headquarters,” is a fantastic place to spend hours learning about analog sound synthesis. Run by Ray Wilson, MFOS includes tutorials and guides on analog synthesizer theory & operation, has a collection of projects ranging from introductory single–purpose musical toys to advanced, cabinet–sized modular synths, and even has an online store that sells specialty parts and whole synthesizer kits. Many projects caution that at least a basic level of electronics proficiency and knowledge is assumed and projects do not have step-by-step instructions to follow. The site’s mid 90s–style design fits it perfectly. There’s even a warning on the home page for mobile users: “You may experience difficulties navigating MFOS using a mobile device…We have our top people working on this.” Awesome.
Sound Lab Mini–Synth
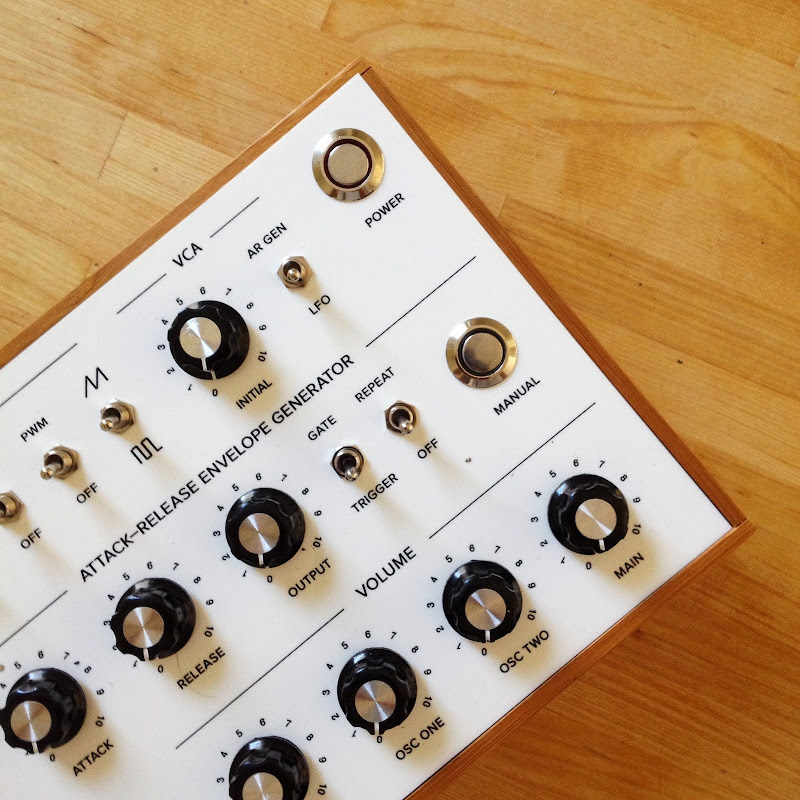
I built the Sound Lab Mini–Synth, described by MFOS as “fun for someone with intermediate to advanced electronics skills who wants to make cool sounds.” It has two VCOs, an LFO, a variable filter, a VCA, an attack–release envelope generator, and a noise generator—all on a single PC board. There are plenty of cool knobs and switches to play with, but not so many as to overwhelm someone new to synths.
Parts
MFOS includes artwork drawings to make PC boards from scratch, but you can also purchase naked etched boards for your project. This makes it easy to get started—and while you wait for the PC board to arrive you can order all the electronic components to complete the kit (and wait for those, too).
To get the most precise tuning performance, stick to the recommended tolerances for resistors and other components. Otherwise, you can substitute 5% for the recommended 1% tolerance components. Things will still work, though you may not get linear voltage across an octave range, for example.
Enclosure and Panel
MFOS provides a very useful panel wiring diagram and a suggested front panel design, and he also includes front panel designs contributed by other builders. Of course, if you use someone else’s front panel design, the panel wiring diagram from MFOS won’t directly apply, but it’s you can still use it as long as you’re methodical and double–check your work. MFOS doesn’t give any more guidance on enclosures other than the panel designs, so this means you have to make or find your own. The enclosure, and especially the panel, are a key part of the design and should be carefully considered.
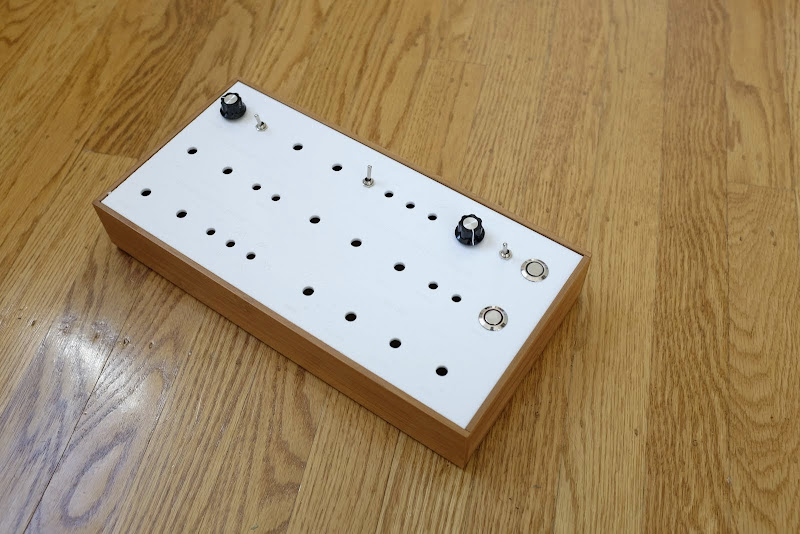
I used a 6” x 12” x 2” bamboo drawer organizer from The Container Store to house the synth. Its open–top design allows a front panel to be easily fitted, and it costs only $7.
After studying the user–contributed panel designs on MFOS, I designed my own in Adobe Illustrator, mostly because I needed to fit the front panel to the drawer organizer’s top opening. I made the panel from 1/8” white acrylic. I’m lucky to have access to a laser engraver at my office. Here’s a preliminary test fitting with a few knobs, switches, and buttons in place:
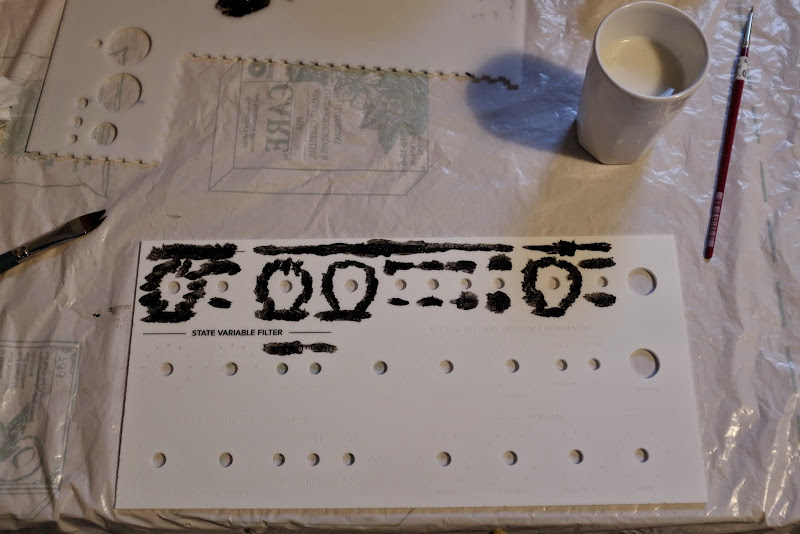
 This was the first time I tried to use the laser cutter to engrave (instead of just cut) on white acrylic, and I wasn’t sure how readable the engraved design would be the acrylic, so I first tried a few pieces of scrap acrylic. The laser engraver doesn’t burn acrylic like it does wood, so it was nearly unreadable because it doesn’t produce any contrast (like burnt wood edges) to show the lettering. I used black acrylic paint to fill in the engraved areas, quickly wiping off the excess with a cloth before it dried. I later realized it’s not necessary to quickly remove the excess before it dries, and I found it slightly easier to wait for the paint to dry, and then use a paper towel to scrub off the excess. Getting the paint into all the lettering’s nooks and crannies required two or three coats (and wiping), with final edits gently made with a very fine–tipped paint brush.
Integration and Testing
The clean front panel design hides a mess of wires behind it. Assembling the panel starts off easily with the mounting of switches, knobs, and potentiometers. From then all the work is done on the underside. It’s a clean, organized start:

Midway through wiring:
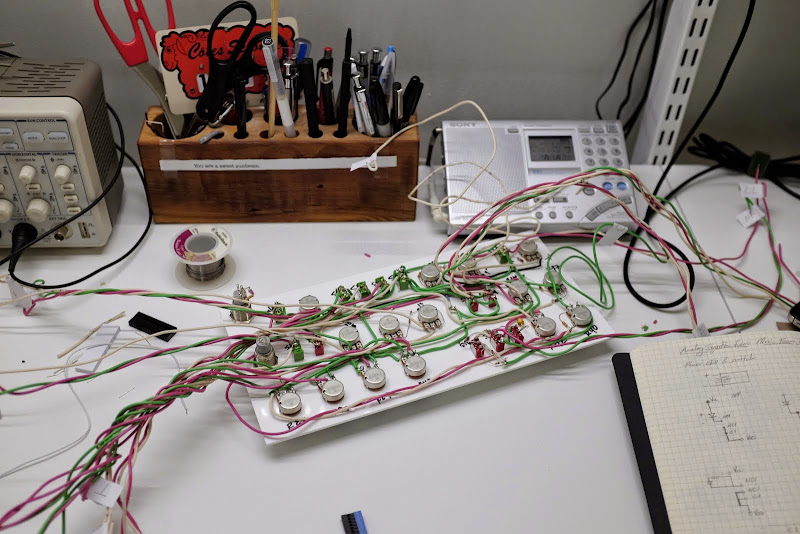
It’s pretty busy once connected to the PC board:
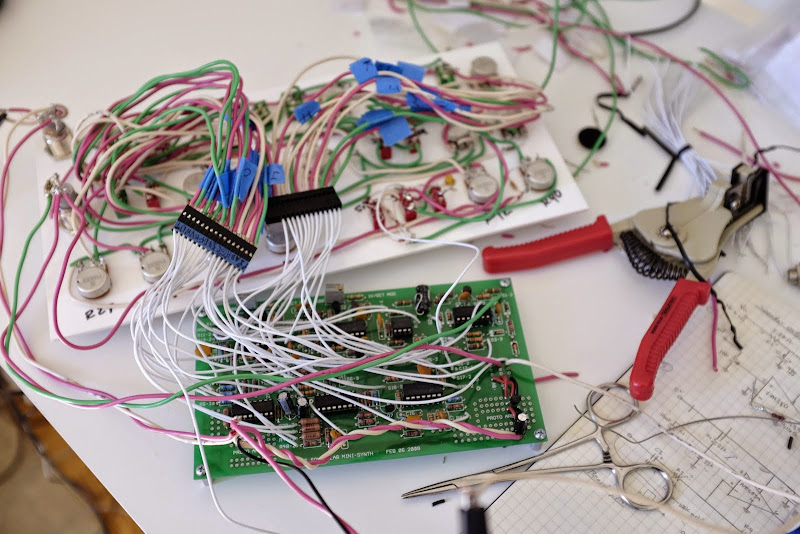
After finishing wiring I applied power and started testing. Not everything worked exactly as expected, so I carefully rechecked every single wire from point to point. MFOS provides very useful troubleshooting information with instructions on PC board probe points and the expected voltage or waveform to verify on an oscilloscope. I found and corrected a couple of mis–routed wires and one incorrectly placed resistor (I misread the color bands).
Sounds
Here’s a short video of the synth.